Бекап VestaCP в облако на примере Google Drive (Ubuntu 16.04)
Эта инструкция написана для меня, но воспользоваться ей может любой, нужны базовые знания консоли linux, минут 30 на настройку.
Для начала нам необходимо установить Rclone:
Заходим под рутом
sudo suСкачиваем и устанавливаем Rclone
curl https://rclone.org/install.sh | sudo bashЗапускаем настройку Rclone
rclone configСоздаем новый профиль Rclone
No remotes found — make a new one
n) New remote
s) Set configuration password
q) Quit config
n/s/q> nЗадаем имя (тут вы можете назвать как угодно)
name> gdriveВыбираем сервис.
У меня гуглдиск оказался под номером 13, возможно в дальнейшем номер изменится.
13 / Google Drive
\ «drive»
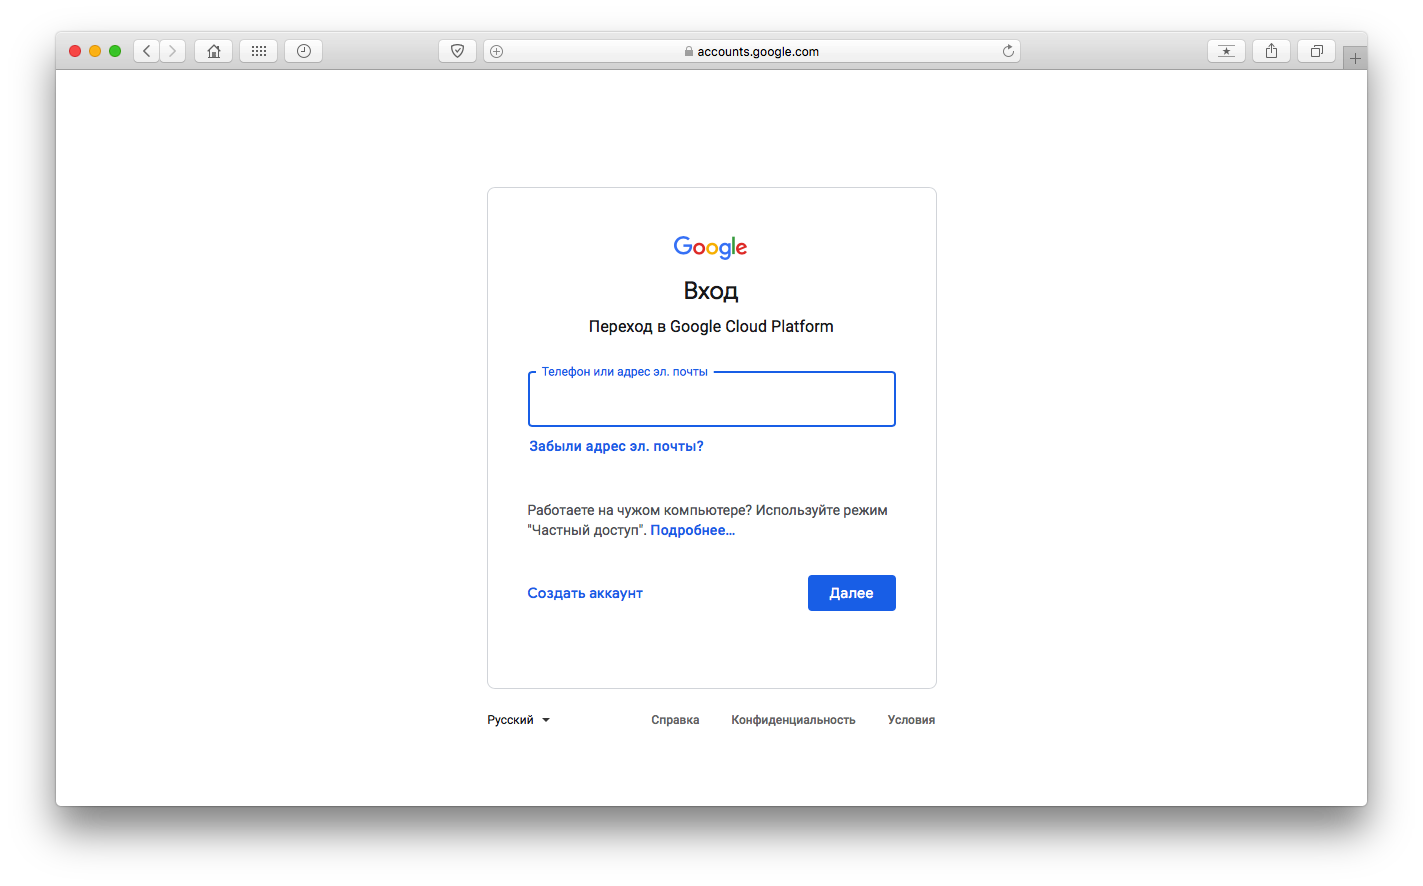
Storage> 13Тут нам необходимо получить авторизацию у google.
Переходим по ссылке и авторизуемся под своим аккаунтом: https://code.google.com/apis/console/
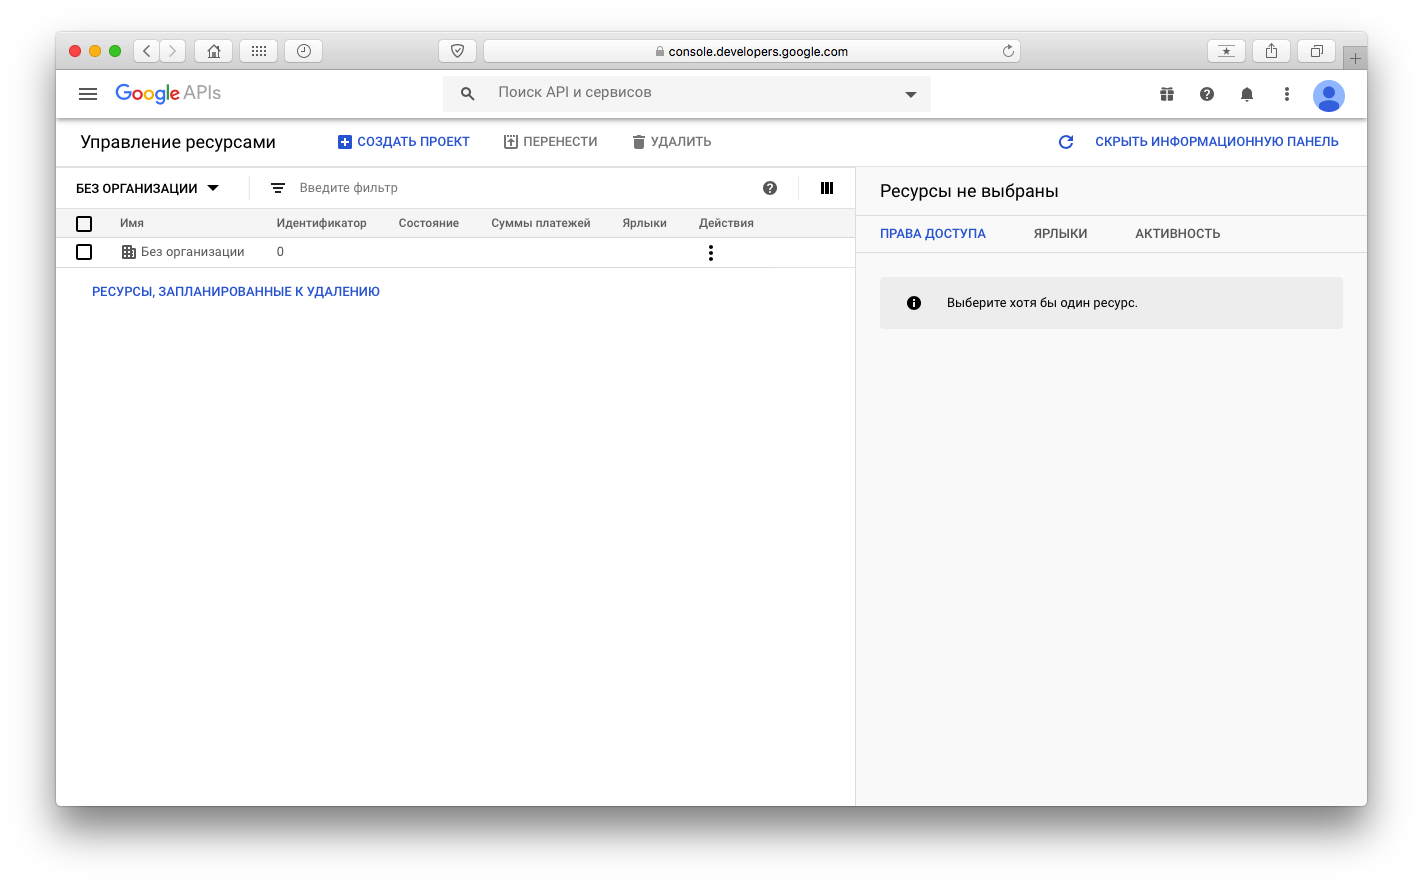
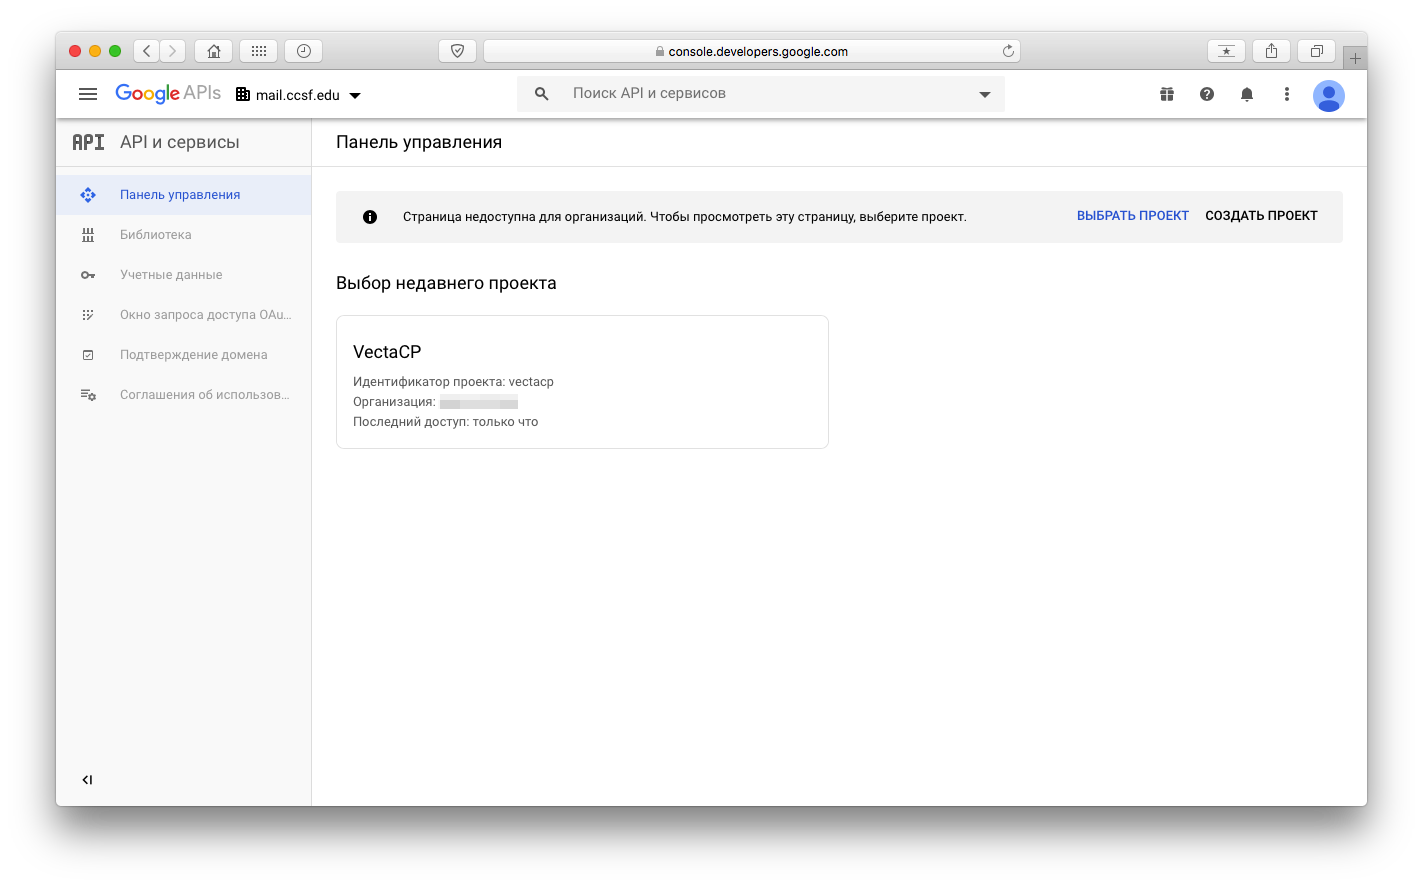
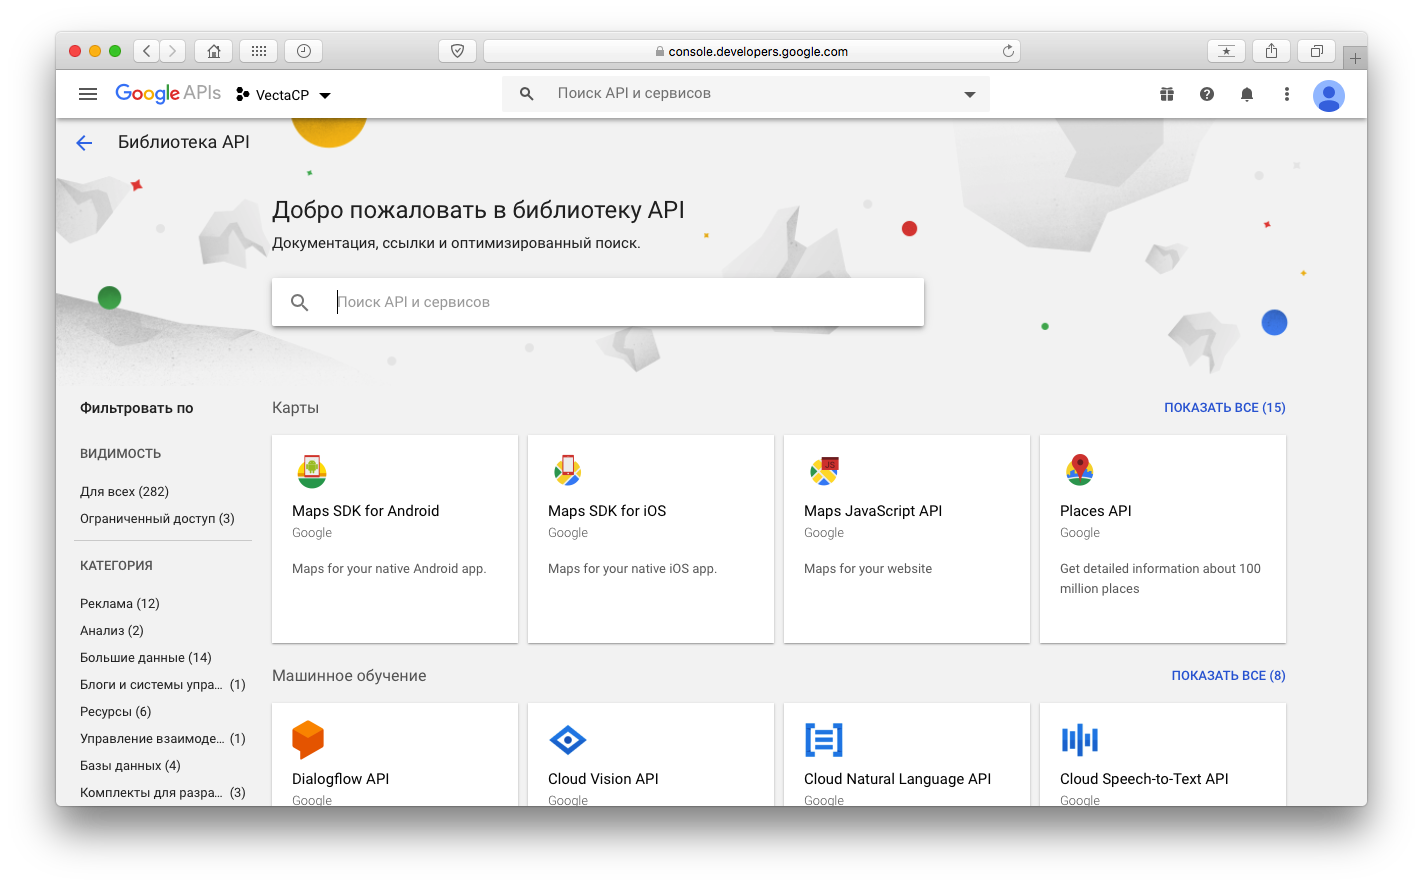
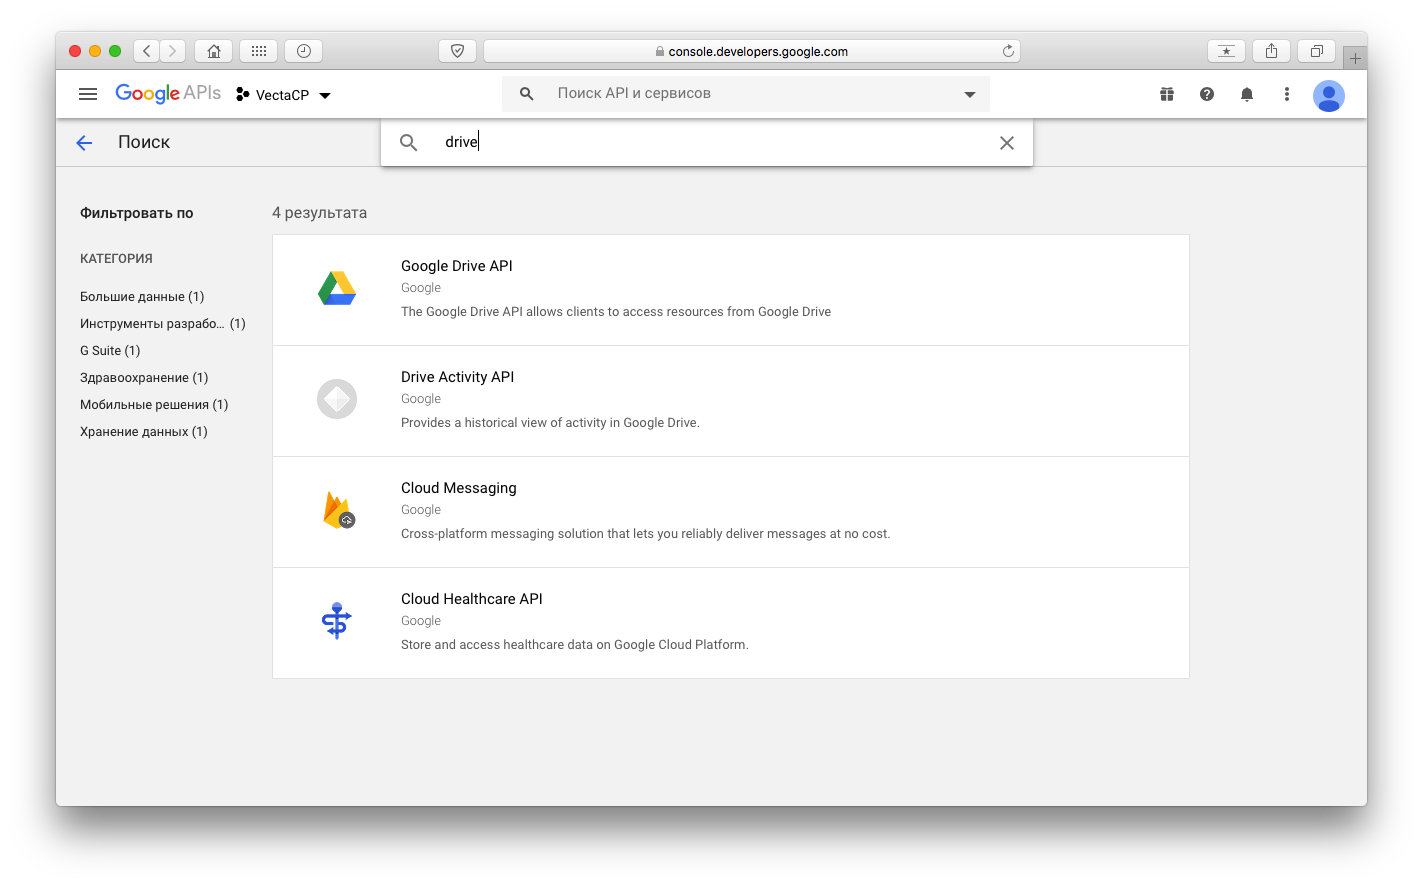
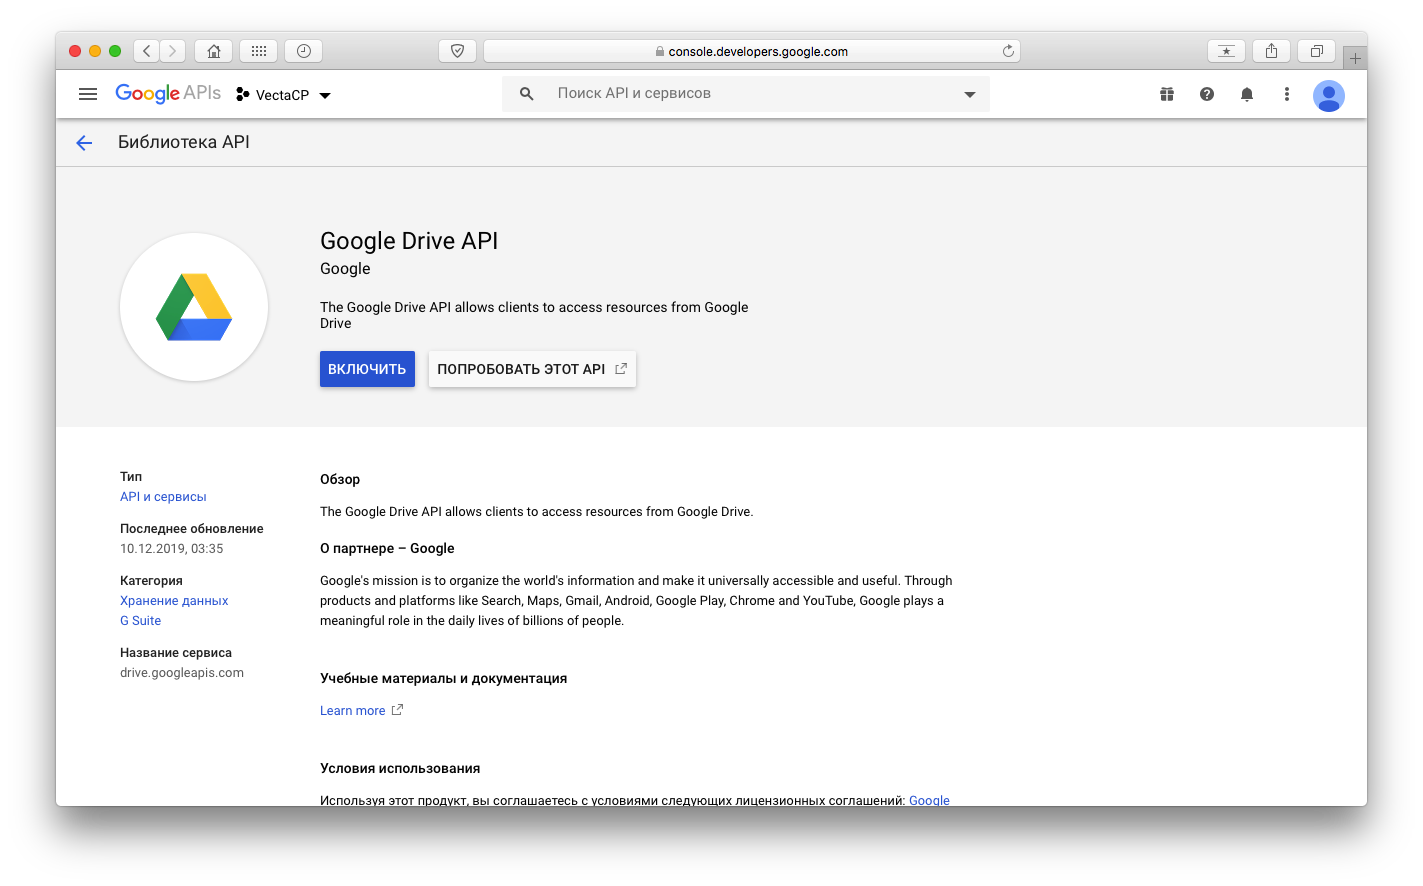
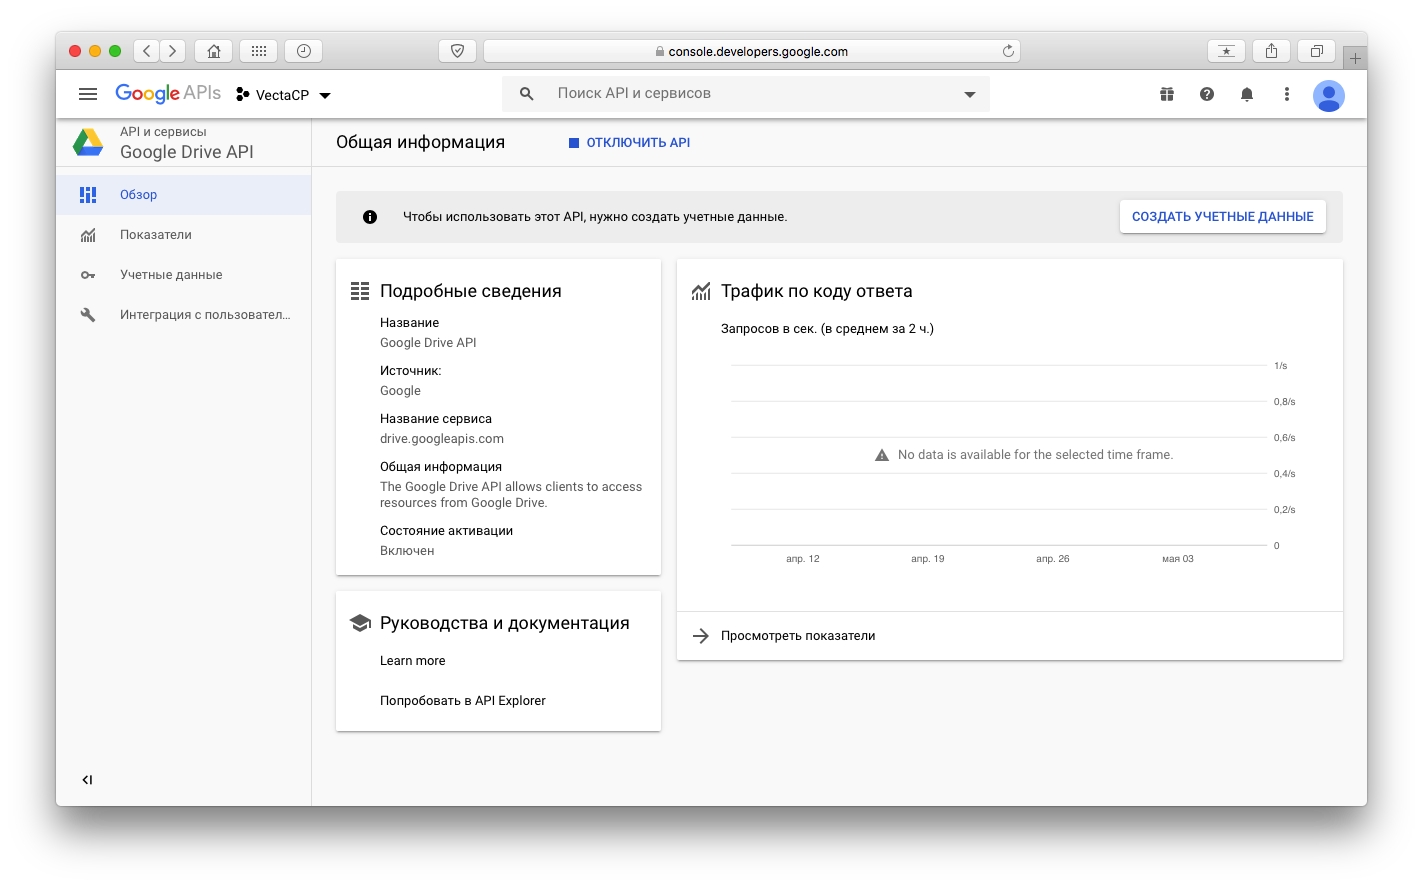
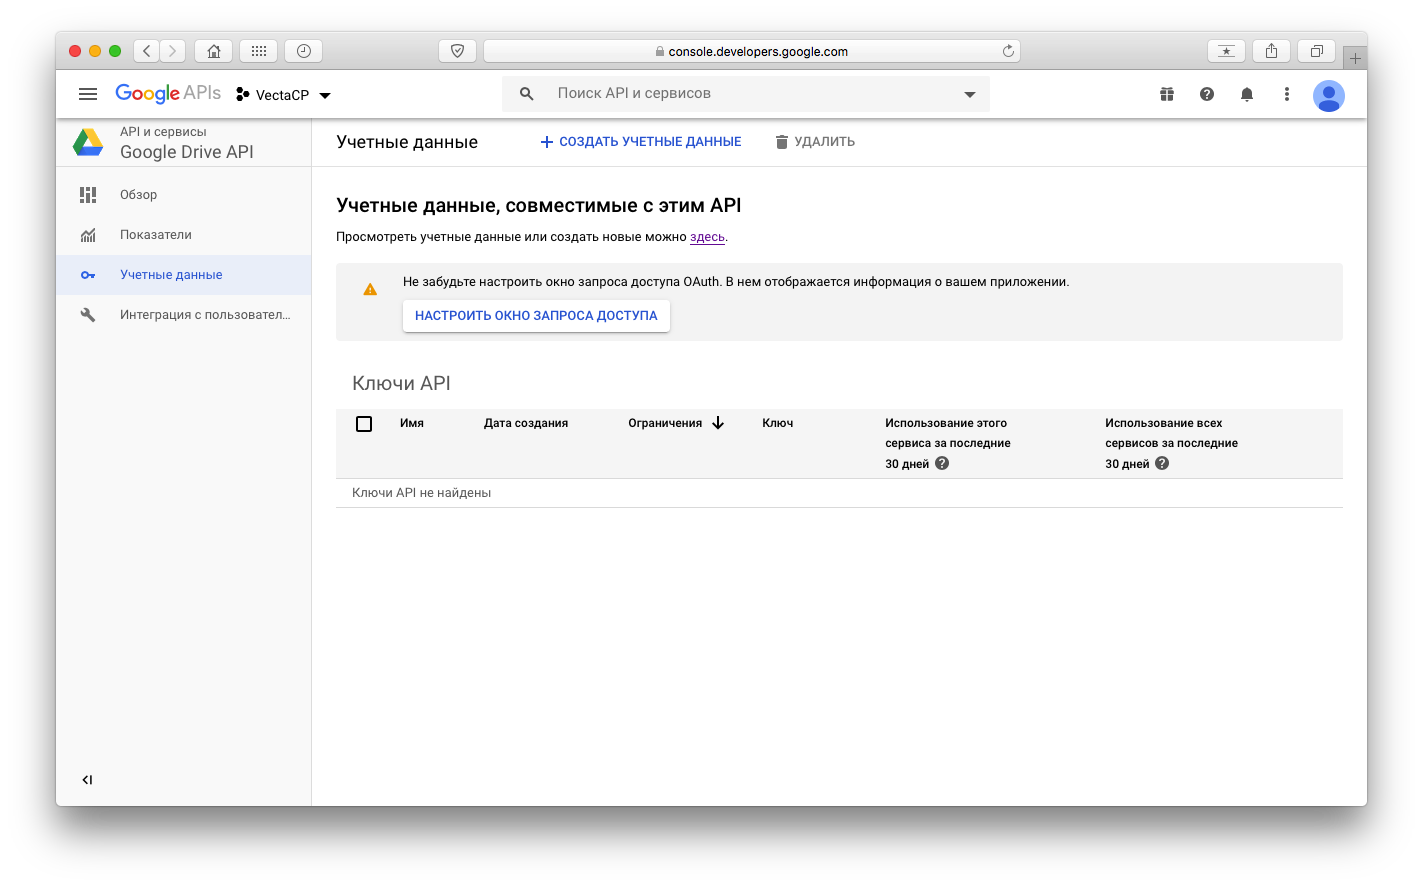
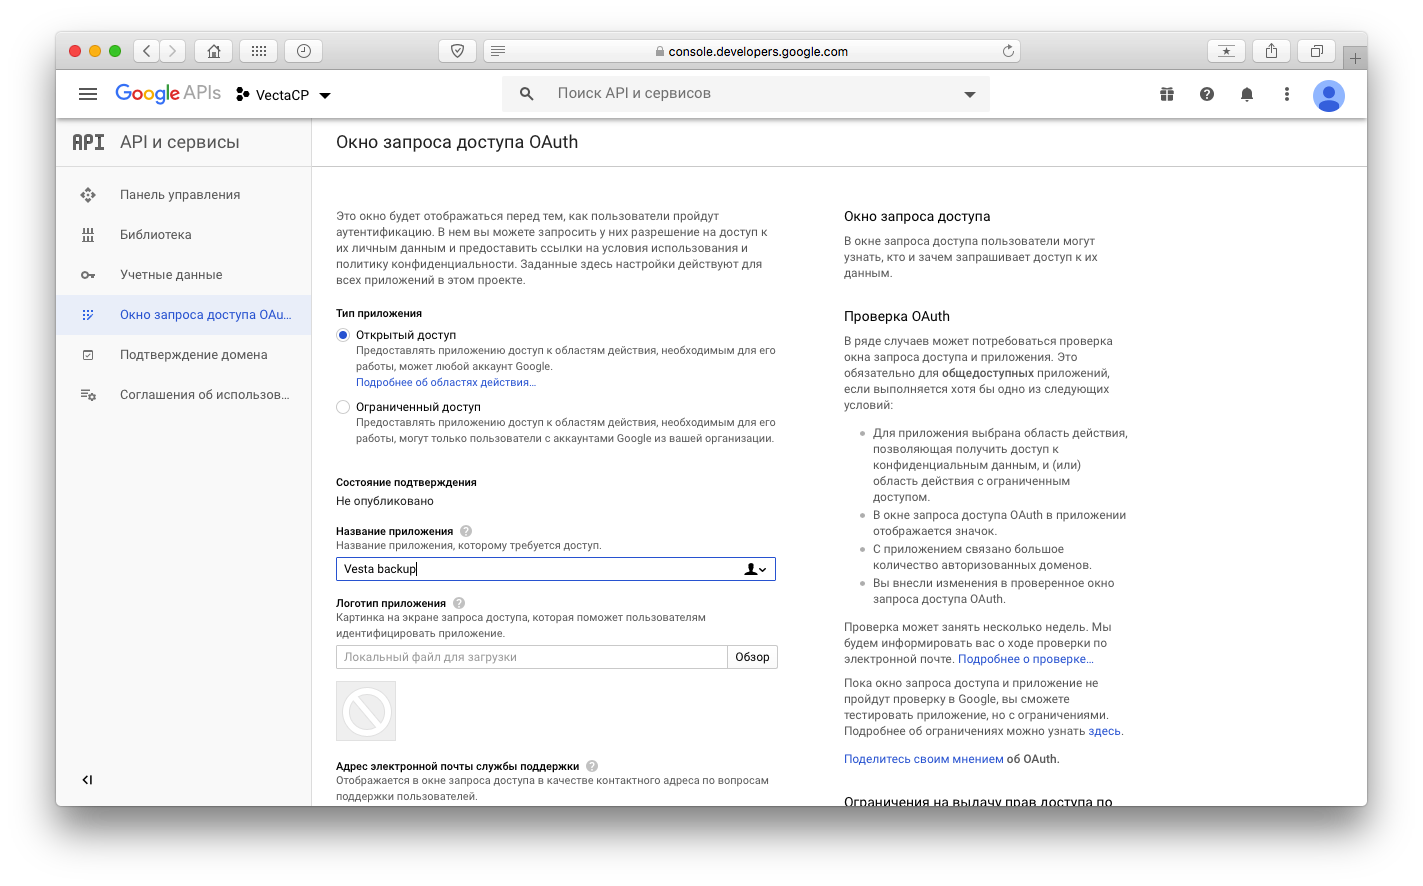
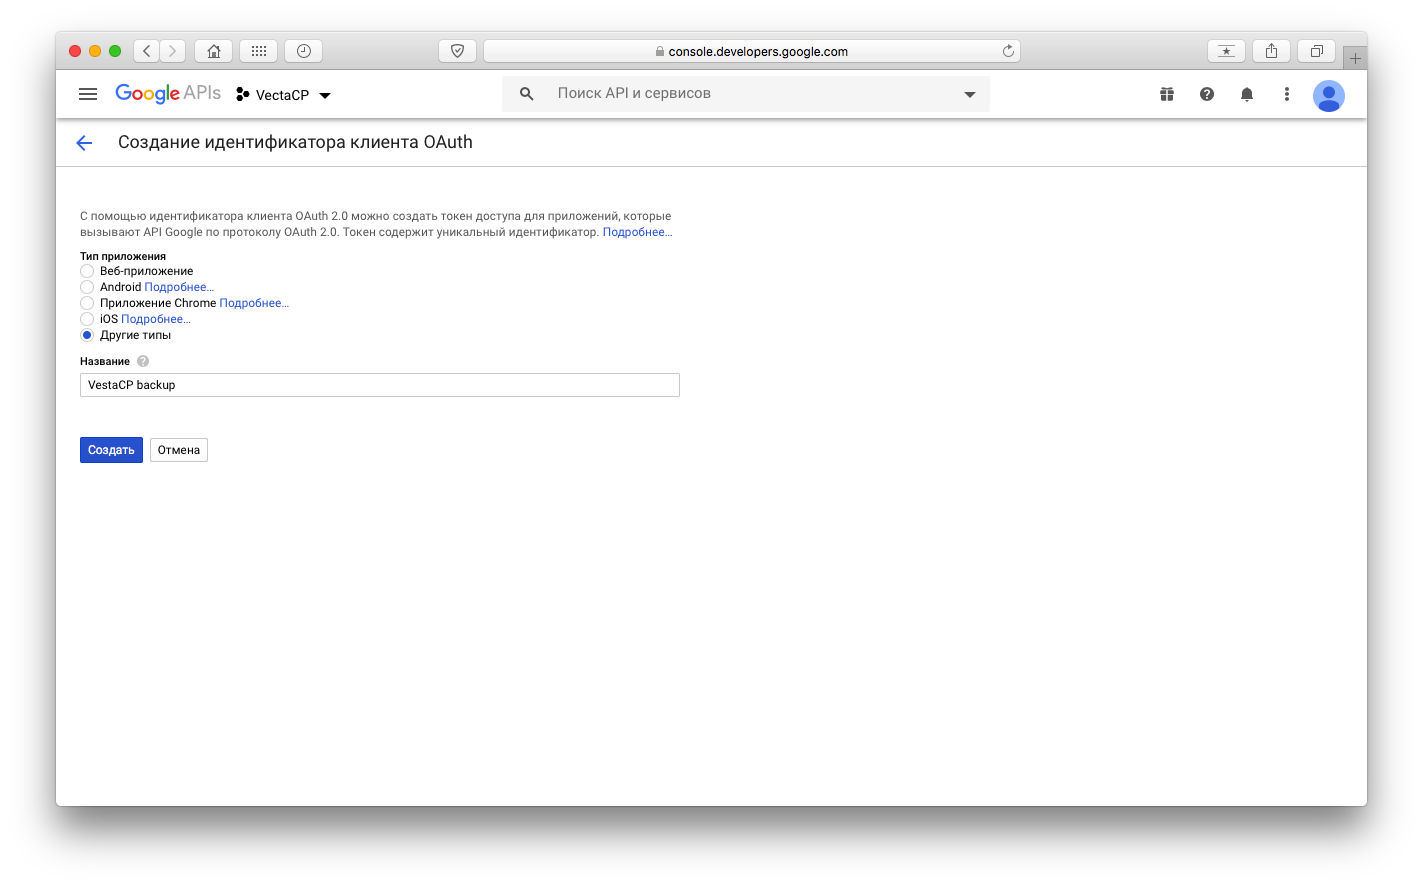
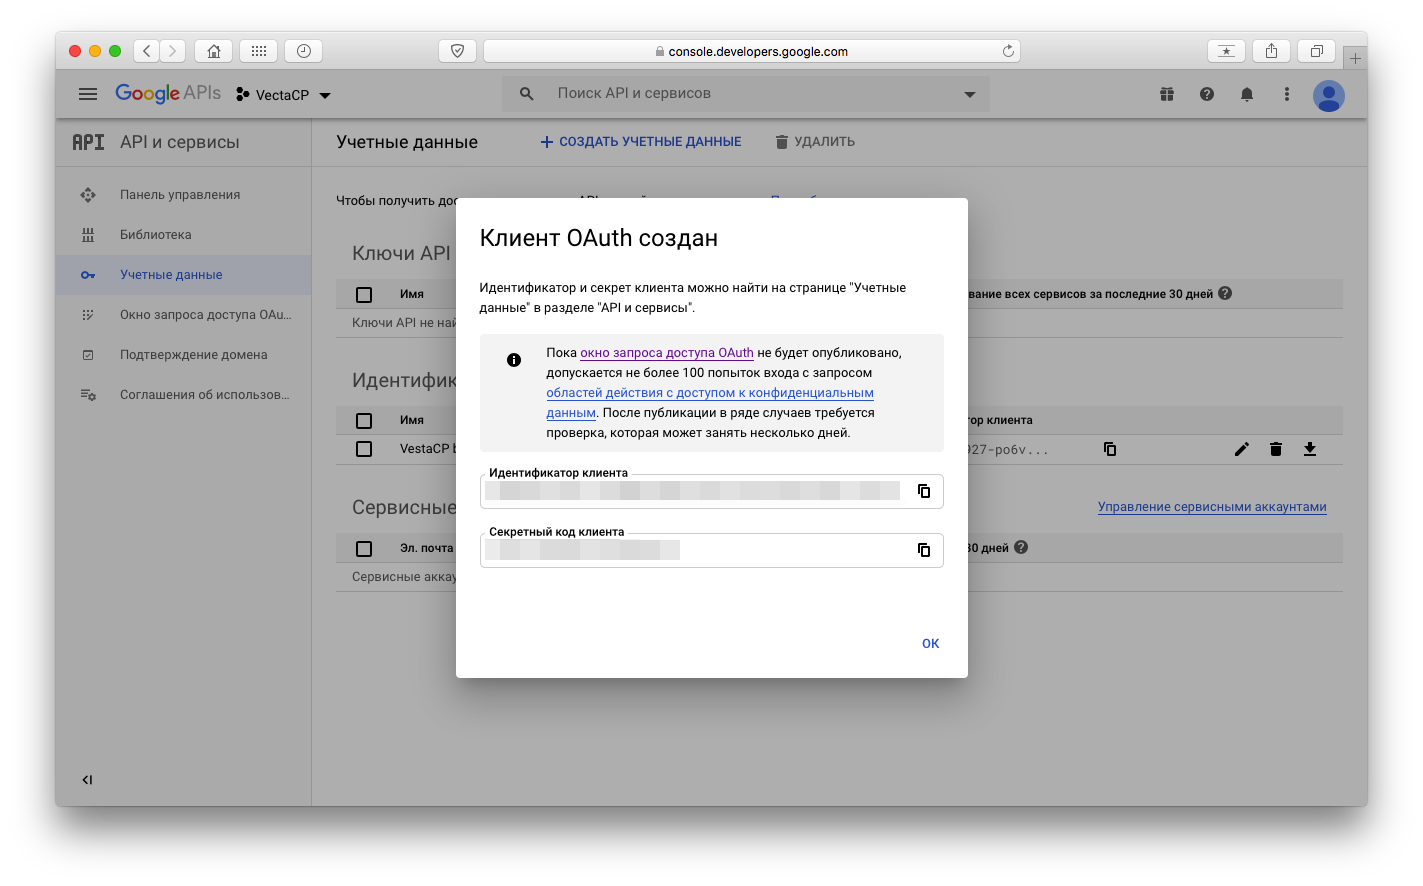
Создаем проект и даем ему имя → Заходим в проект → Заходим в библиотеки → Ищем Google Drive API → Включаем → Переходим в Учетные данные → Настроить окно запроса доступа → Заходим в Учетные данные → Создаем Идентификатор клиента OAuth → Другие типы → Получаем ключи:
Идентификатор клиента и Секретный код клиента, они нам и нужны.
Скринкаст:


Продолжаем настройку Rclone
Вводим Идентификатор клиента
client_id> Ваш идентификатор клиента (Client ID)Вводим Секретный код клиента
client_secret> Ваш код клиента (Secret code)далее выбираем
Scope that rclone should use when requesting access from drive.
Enter a string value. Press Enter for the default («„).
Choose a number from below, or type in your own value
1 / Full access all files, excluding Application Data Folder.
\ „drive“
2 / Read-only access to file metadata and file contents.
\ „drive.readonly“
/ Access to files created by rclone only.
3 | These are visible in the drive website.
| File authorization is revoked when the user deauthorizes the app.
\ „drive.file“
/ Allows read and write access to the Application Data folder.
4 | This is not visible in the drive website.
\ „drive.appfolder“
/ Allows read-only access to file metadata but
5 | does not allow any access to read or download file content.
\ „drive.metadata.readonly“
scope> 1Далее настройка упрощается, нажимаем Enter
ID of the root folder
Leave blank normally.Fill in to access «Computers» folders (see docs), or for rclone to use
a non root folder as its starting point.Note that if this is blank, the first time rclone runs it will fill it
in with the ID of the root folder.Enter a string value. Press Enter for the default («„).
root_folder_id>Еще раз нажимаем Enter
Service Account Credentials JSON file path
Leave blank normally.
Needed only if you want use SA instead of interactive login.
Enter a string value. Press Enter for the default («„).
service_account_file>Далее
Edit advanced config? (y/n)
y) Yes
n) No (default)
y/n> nДалее
Remote config
Use auto config?
* Say Y if not sure
* Say N if you are working on a remote or headless machine
y) Yes (default)
n) No
y/n> nПереходим по этой ссылке в браузере и копируем ваш верификационный код
Please go to the following link: https://accounts.google.com/o/oauth2/auth?.....
Log in and authorize rclone for access
Enter verification code> Ваш кодДалее
Configure this as a team drive?
y) Yes
n) No (default)
y/n> nИ в завершении настройки получаете такое сообщение:
——————————
[gdrive]
type = drive
client_id = Ваш идентификатор клиента (Client ID)
client_secret = Ваш код клиента (Secret code)
scope = drive
token = {«access_token»:» ¯\_(ツ)_/¯ «,«expiry»:«2020-05-07T20:49:03.221799741+03:00»}
——————————
y) Yes this is OK (default)
e) Edit this remote
d) Delete this remote
Проверяем настройки и вводим y
y/e/d> yДальше программа показывает нам созданный профиль и спрашивает что делать дальше
Current remotes:
Name Type
==== ====
gdrive drivee) Edit existing remote
n) New remote
d) Delete remote
r) Rename remote
c) Copy remote
s) Set configuration password
q) Quit config
Выходим
e/n/d/r/c/s/q> qRclone установлен и настроен
Пробуем скопировать содержимое папки на свой сервер (критично к регистру)
rclone copy /backup/ gdrive:Backup/Myserver/ -PЕсли всё копируется, то будем настраивать синхронизацию по времени.
Т. к. веста не умеет от рута запускать скрипты, настроим крон сами:
sudo nano /etc/crontabИ в конце файла добавляем следующий код (выполняется каждый день в 4 часа):
0 4 * * * root rclone sync /backup/ gdrive:Backup/Myserver/P.s. Настройка Cron.